How to Design a Home Theater Room From Scratch in Utah
How to Design a Home Theater Room From Scratch in Utah
August 25, 2026

There’s a moment during a great movie when you forget you’re sitting in your house. The sound wraps around you. The picture fills your vision. Everything outside that room stops mattering for a couple of hours. That doesn’t happen by accident, and it definitely doesn’t happen because someone bought a big TV and called it a day.
Designing a home theater room from scratch takes planning. The good news? If you get the foundational decisions right early on, the rest falls into place a lot more naturally than you’d expect. Here’s how to think through it, step by step.
Start With the Room Itself
Before you pick a single piece of equipment, the room is everything. Utah homes vary, from finished basements in suburban Riverton to open-plan bonus rooms in Park City mountain properties, and each space comes with its own set of acoustical and structural quirks.
Choose the Right Space
Basements are the classic choice for several reasons: they’re insulated from street noise, easier to darken completely, and sequestered away from foot traffic that can pull you out of a film at the worst possible moment.
But rooms on other floors can work, too, when treated correctly.
What you’re looking for:
- A room with minimal windows, or windows that can be fully blacked out
- Walls that don’t share too much with high-traffic living areas
- Enough square footage for the screen size you actually want (more on that below)
- A ceiling height that can accommodate either a projector mount or a large display without compromising sightlines
Think About Room Shape Early
Square rooms are the enemy of good audio. They create standing waves, which means certain bass frequencies bounce around and cancel each other out, leaving you with a muddy, uneven sound no matter how good your speakers are. A rectangular room, roughly 1.2 to 1.4 times longer than it is wide, gives you a much better acoustic starting point.
If you’re working with what you’ve got, acoustic treatment later in the process can compensate. But if you have a choice, pick the rectangle.
Lock In Your Screen Setup Before Anything Else
The video system anchors every other decision in the room. Seating distance, room depth, speaker placement, lighting positions: all of it flows from the display.
Projector vs. Large-Format Display
This is usually the first real debate homeowners have, and both options have a strong case.
A projector setup with a quality screen gives you that genuine cinematic scale. A 120-inch or 150-inch image changes how a room feels and performs in a way that no flat panel can fully replicate at a comparable price. The trade-off is that projectors require a fairly dark environment to look their best, so if you’re planning to use the space for sports, daytime viewing, or ambient TV watching, that matters.
Large-format displays (we’re talking 85 to 100-plus inches) have closed the gap significantly in brightness and picture quality over the last few years. They work beautifully in rooms with some ambient light and require less setup precision. The trade-off is cost per inch of screen size.
Calculating Viewing Distance
Multiply your screen width by 1.5 to get a minimum comfortable viewing distance. For a 120-inch screen (roughly 104.5 inches wide; TV sizes are measured diagonally), that puts your primary seating at around 13.75 feet back.
Too close and you’ll see the pixel structure; too much farther and you lose the immersive scale you built the room for.
Invest in Home Theater Audio
People upgrade their picture often. They underinvest in audio almost every time. A stunning 4K image paired with mediocre sound still produces a mediocre experience. Great audio with a decent picture is genuinely cinematic.
Understanding Speaker Configurations
You’ve probably seen the shorthand: 5.1, 7.1, 9.2.4. The first number is surround speakers, the second is subwoofers, and the third (if present) is height channels for Dolby Atmos or DTS:X overhead audio.
For most dedicated home theaters, a 7.1 or 7.1.4 setup hits the sweet spot. Here’s how those channels break down:
- Front left, center, front right
- Surround left and right (placed at ear level beside or slightly behind the primary seating)
- Rear surround left and right (further behind)
- One or two subwoofers (dual subs almost always smooth out bass response more than one can alone)
- Four height speakers for Atmos overhead audio, placed in or angled from the ceiling
Acoustic Treatment Isn’t Optional
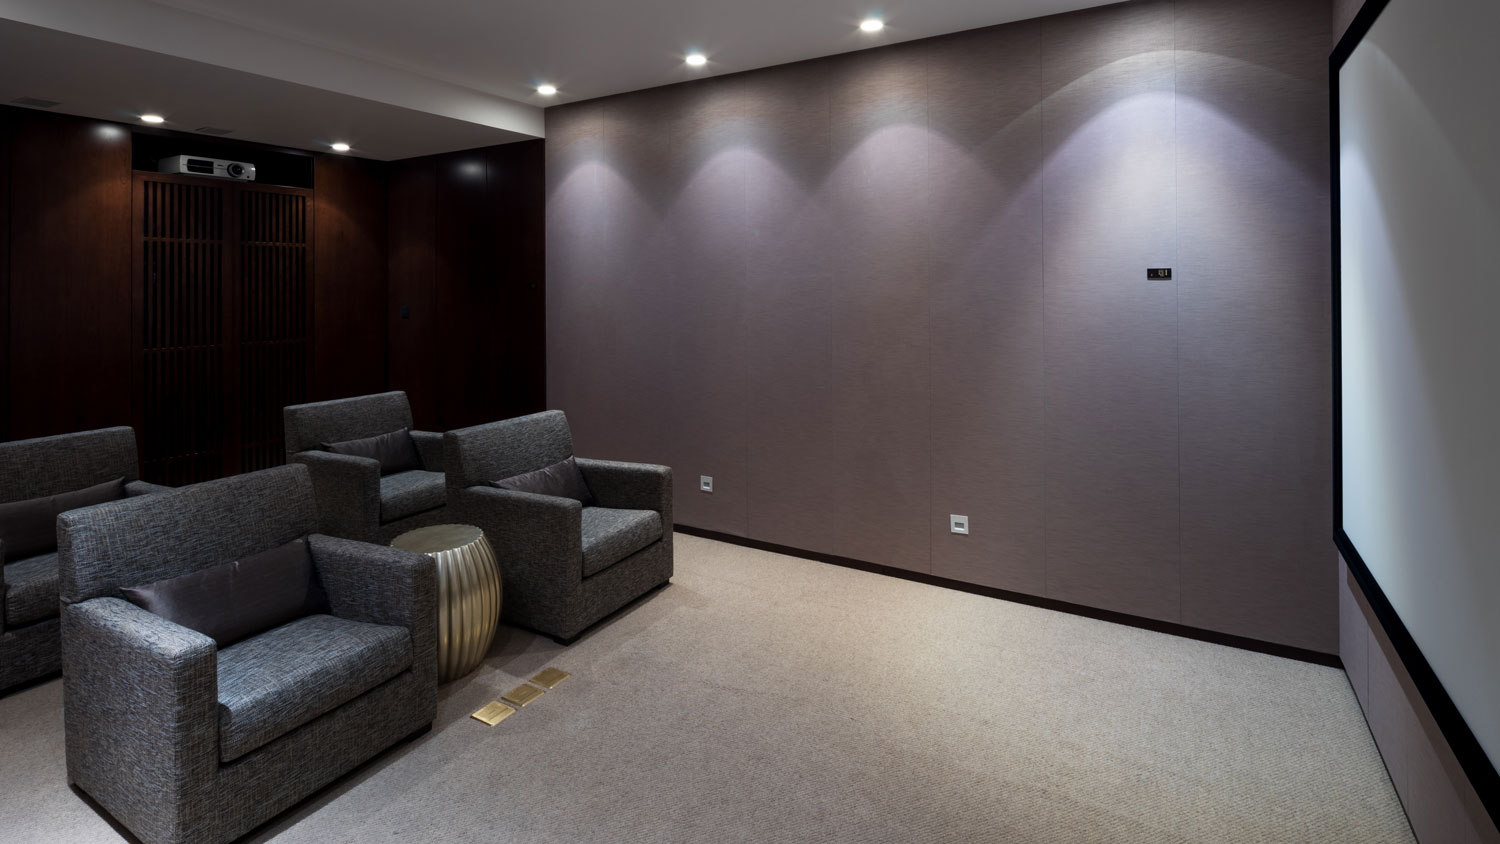
A room full of hard, reflective surfaces turns your expensive speaker system into a muddy echo chamber. Acoustic panels on the first and second reflection points, bass traps in the corners, and some diffusion on the rear wall give your speakers room and your ears a chance to actually hear what’s playing.
This doesn’t have to look like a recording studio. Quality fabric-wrapped acoustic panels come in colors and patterns that integrate cleanly with interior design. A good installation team thinks about acoustic treatment as part of the room design.
Running Your Cables Before the Walls Close
If you’re in a new build or doing a remodel, this is the moment to get all your speaker wire and HDMI runs in the walls before drywall goes up. Retroactively fishing cables through finished walls is possible, but it adds time, cost, and occasionally some regret.
A structured wiring plan at this stage pays for itself many times over.
Lighting That Actually Works
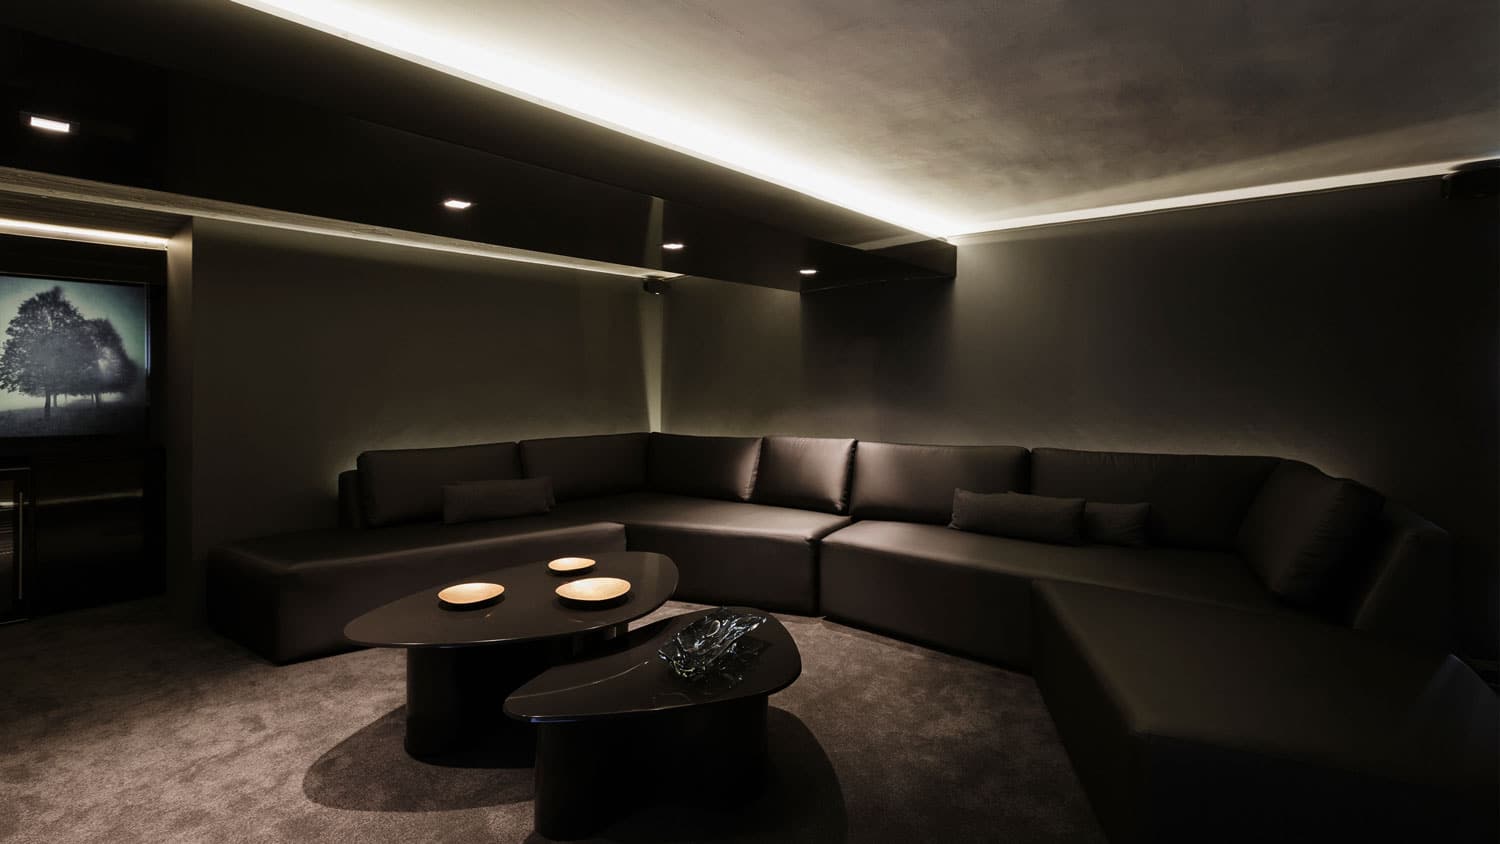
Lighting in a home theater does two things: it sets the mood during a film, and it keeps the space functional when you’re not watching one. Both matter.
Blackout First
Total light control is non-negotiable for a projector setup and strongly preferable for any dedicated theater space. That means blackout window treatments (if there are any windows at all), and no light leaks around doors.
Once you’ve established full darkness capability, you layer in:
- Bias lighting behind the screen (reduces eye fatigue and improves perceived contrast)
- Aisle lighting at floor level for safe navigation during a film
- Overhead lighting on a dimmer for setup, cleaning, and those moments when someone inevitably needs a snack refill
Smart Lighting Control
A smart lighting system ties everything together. Most systems let you save lighting presets called “scenes,” which are one-tap configurations that set every light in the room simultaneously.
One scene called “Movie Mode” dims the overheads, activates the bias lighting, and drops the aisle lights to a low glow. Another called “Intermission” brings everything back up. When integrated with your home automation system, these scenes can trigger automatically when you hit play or pause.
Seating, Layout, and the Room Experience
How Many Rows and How High?
Tiered seating is the gold standard for multi-row setups. A raised second row, typically six to twelve inches higher than the front row, ensures clear sightlines over the heads of anyone sitting in front.
For seating itself, the home theater market has expanded well beyond the classic recliner. Sectionals with individual power recline, loveseat configurations, and even custom bench seating with integrated cup holders all work well depending on the room and the family.
Don’t Forget the Aisle
Leave yourself at least 36 inches of clearance between seat rows for comfortable movement. It sounds obvious until you’re standing in a tight room trying to shimmy past someone during the opening credits.
The Tech Stack and How It All Connects
A home theater is an integrated system. The projector, the AV receiver, the streaming devices, the gaming consoles, the smart lighting, the acoustic gear: all of it needs to talk to each other, preferably through a single control interface.
AV Receivers and Source Management
Your AV receiver is the central hub of the audio system, routing audio and video signals from every source to your speakers and display. Look for receivers that support your chosen audio formats (Atmos, DTS:X), have enough HDMI 2.1 inputs for 4K/120Hz passthrough, and can handle the number of channels your speaker layout requires.
Whole-Home Integration
An integrated home automation system can coordinate lighting, climate, and even door locks alongside your theater experience. Walk in, say a voice command or tap a single button, and the room configures itself.
Reed’s Built-Ins has been building these kinds of integrated systems across Utah for over 50 years. The tech has changed. The fundamentals of good design, careful installation, and making sure everything actually works for the people who live there, have not.
Utah-Specific Considerations
Utah winters mean extended time at home. Utah summers mean families spending long stretches of weekend time indoors during the heat of the day. The home theater gets used a lot, so you need it to be reliable.
Utah’s elevation and climate can also affect some equipment. HVAC airflow in basement theater spaces sometimes needs adjustment to maintain consistent temperature, especially when projection equipment runs hot.
Where to Start
If you’re standing in an empty room trying to figure out where the screen goes, the best first step is to have a conversation with someone who’s done this hundreds of times. The decisions you make at the start set the trajectory for everything else, and some of them are very difficult to undo once walls are closed and equipment is mounted.
Reed’s Built-Ins works with homeowners, builders, and contractors across Utah to design and install home theater systems that are built to last. From room planning and acoustic treatment through speaker placement, lighting design, and full home automation integration, we handle the whole project.
Ready to build something worth watching? Reach out to Reed’s Built-Ins and let’s figure out what your room can become.


